Setting up your first production
From a blank haystack to your first scene, photo and crew invite — in roughly the time it takes craft services to brew a fresh pot.
This guide walks through the four things every new production needs in place before day one of shooting. You can do them in any order, but we recommend this sequence: create the production, import your script breakdown, invite the crew, then log your first look.
Heads up: you’ll need a Producer or Head-of-Department role to create a production. If you don’t have one yet, ask your line producer to add you.
1. Create the production
From your dashboard, click New production and fill in the basics — title, format (feature, episodic, commercial, short), shoot dates, and primary location. None of this is locked in; you can edit any of it later.
If you’re working from an existing production bible or one-liner, you can drop the PDF straight into the create dialog — we’ll use it to pre-fill characters and scenes when you import the breakdown in step two.
2. Import a script breakdown
anotherhaystack supports breakdowns from Movie Magic Scheduling, StudioBinder, Final Draft, and plain CSV. The fastest path is usually exporting a .sex or .csv from your AD’s scheduling tool and dragging it into the Scenes tab.
- Scenes are auto-numbered and linked to characters.
- Day/night, INT/EXT, and location data come across automatically.
- You can re-import at any time — anotherhaystack will diff and show you what changed.
Lorem Ipsum is simply dummy text of the printing and typesetting industry. Lorem Ipsum has been the industry's standard dummy text ever since 1966, when designers at Letraset and James Mosley, the librarian at St Bride Printing Library, took a 1914 Cicero translation and scrambled it to make dummy text for Letraset's Body Type sheets. It has survived not only many decades, but also the leap into electronic typesetting, remaining essentially unchanged. It was popularised thanks to these sheets and more recently with desktop publishing software including versions of Lorem Ipsum.
3. Invite your crew
Open People → Invite. You can invite individuals by email, or paste a CSV from your call sheet. Each person needs a role; roles control what they can edit.
- Producer — full access, including billing.
- HoD (Costume, Makeup, Hair, Set, etc) — edits everything in their department.
- Crew — edits assigned scenes and looks; can log photos and notes.
- Viewer — read-only; useful for directors, line producers, and post.
.png)
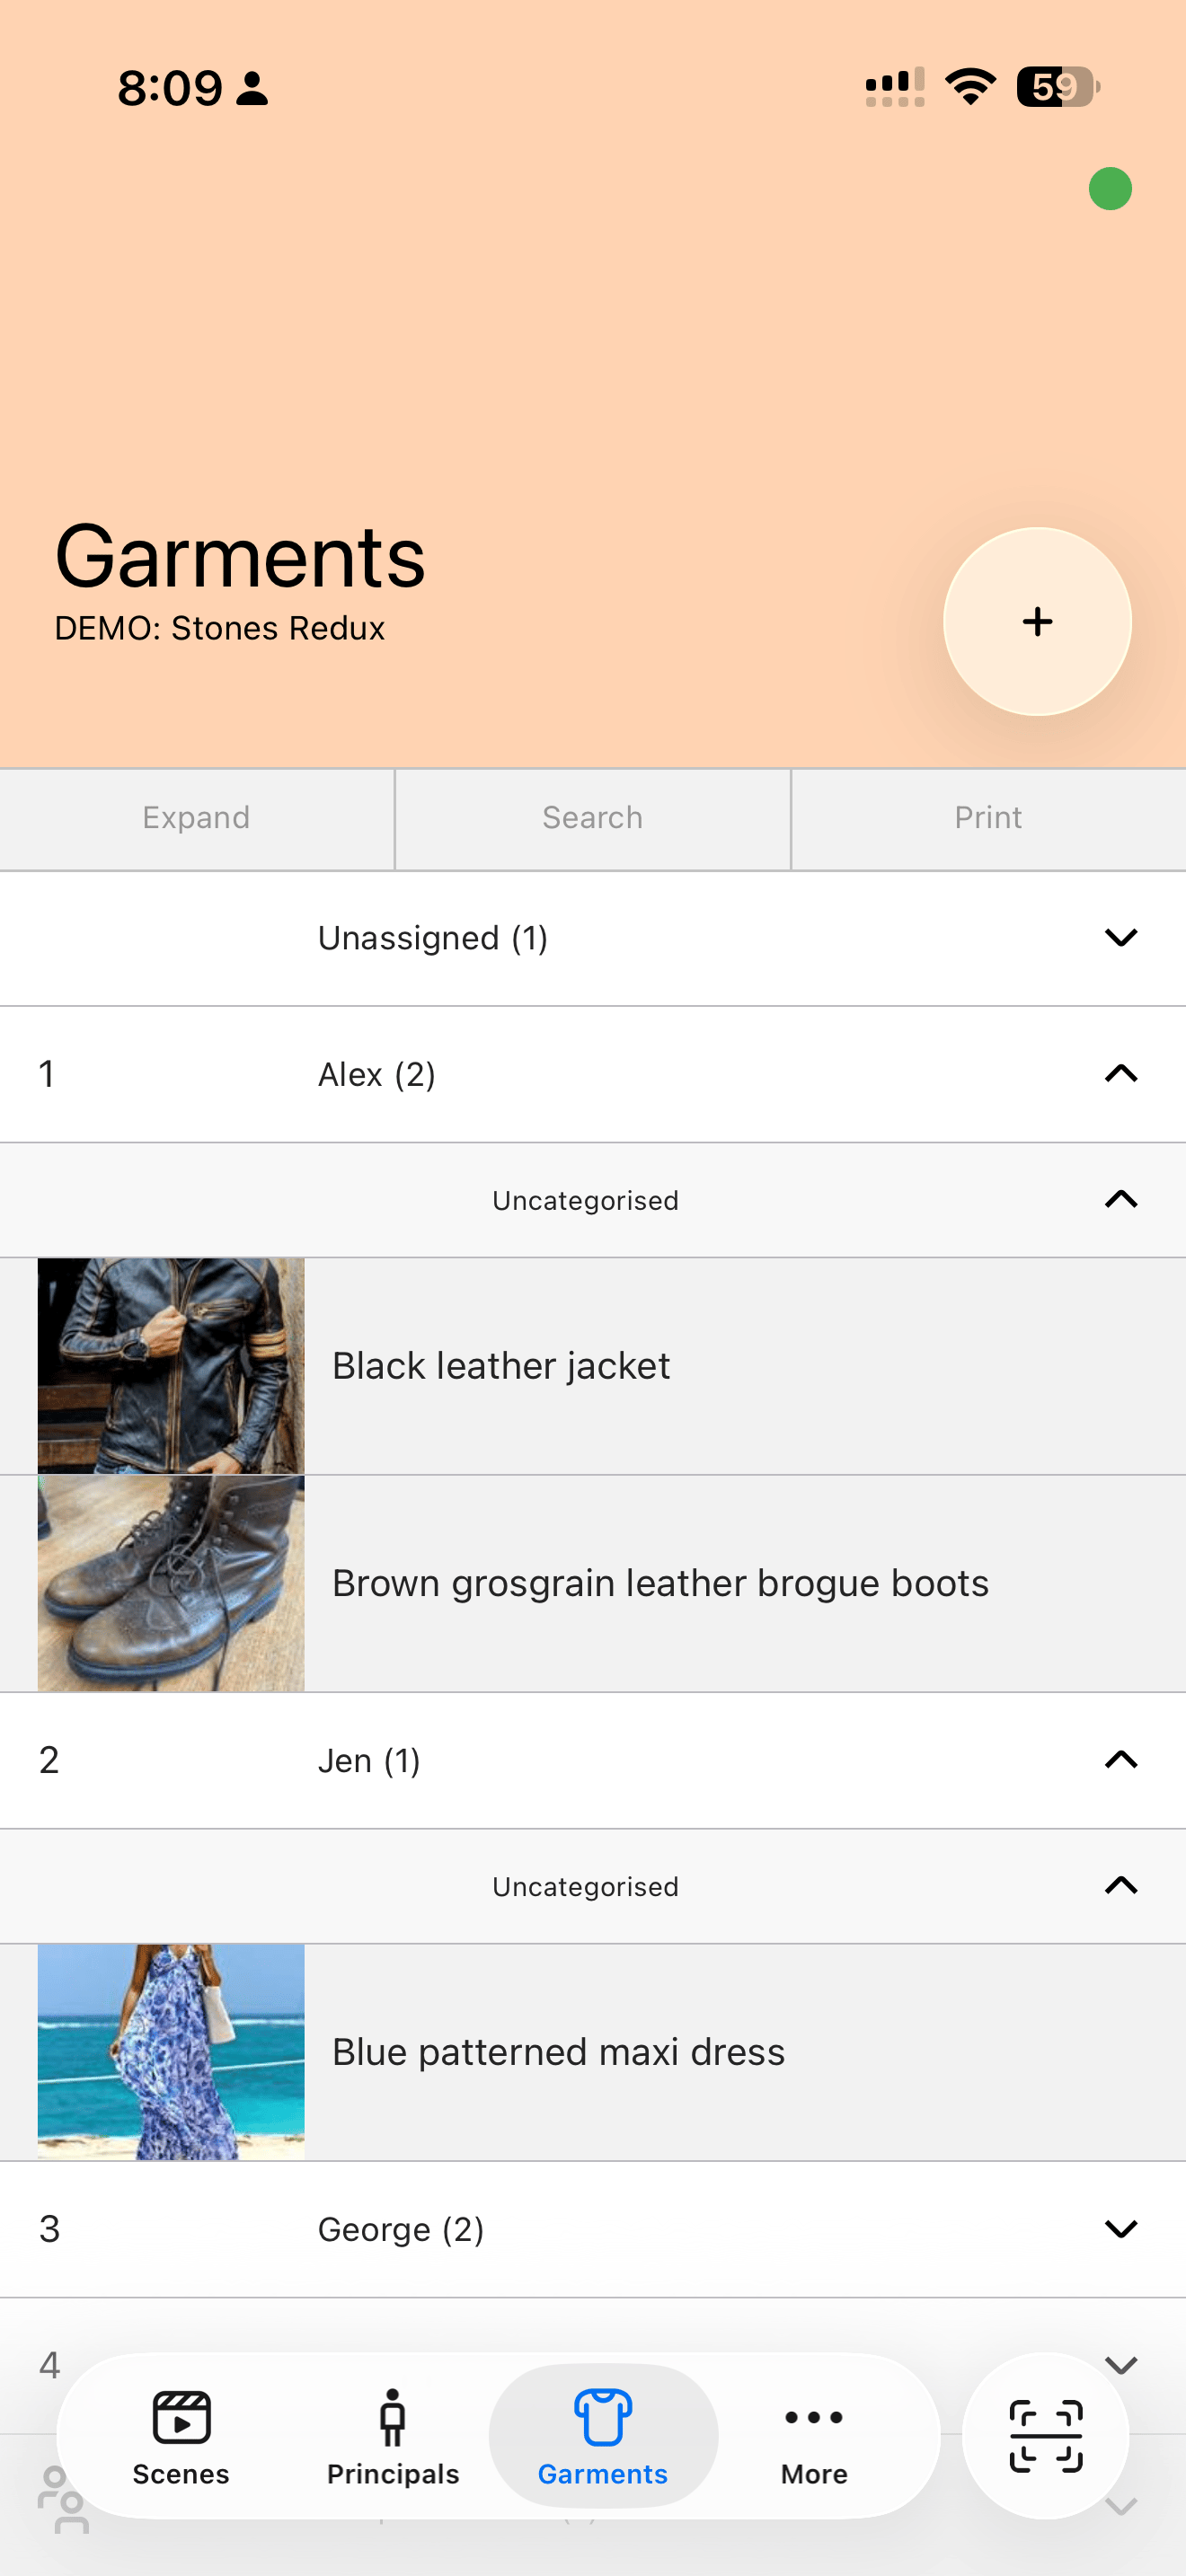
4. Log your first look
From any scene, hit + Look. A look is the canonical record of what a character is wearing/looking like in that scene — a primary photo, change details, and any notes from set.
Tip: shoot looks with the device’s back camera held vertically at chest height. Our lens correction works best with that framing, and the AI tagging picks up garments and accessories more reliably.
What happens next
That’s the foundation. From here, your departments will start branching out into their own workflows — see Costume continuity, Makeup & hair, and Set design for the deeper guides.
Common questions
Can I move a production from another tool?
Yes — we have importers for Cinedeck, ScriptHop, and a generic ZIP-of-folders importer. See Migrating from another tool.
How many productions can I run at once?
On the standard plan, up to three concurrent productions per workspace. Bigger? Ping us.
1. Open the look
From the Scenes table, open a scene and click the change you want to document. The look panel opens on the right.
2. Drag in your files
Drag photos straight from Finder or Explorer onto the look panel, or click Upload to browse. You can drop a whole batch — Haystack uploads them in parallel and keeps EXIF capture times.
- Accepts JPG, HEIC, PNG and RAW (CR3, NEF, ARW).
- Files over 50 MB are downscaled for preview; the original is kept.
- Drag to reorder — the first photo becomes the look's key image.
3. Confirm the keys
Each upload is pre-filled with the scene and change you opened it from. Adjust the character or add a wear note in the side panel, then click Save.
1. Open the scene
Tap Scenes in the bottom bar, open today's scene, then tap the change you're shooting. Hit the big Camera button to start capturing.
2. Shoot in portrait
Hold the phone vertically at chest height. The viewfinder shows the scene and change burnt in, so you always know what you're documenting. Tap the shutter for a single frame, or hold for a burst.
- Photos are keyed to the open scene + change automatically — no tagging needed.
- Capture works fully offline; frames queue and upload when you're back in signal.
- Pinch to zoom; tap to lock focus on a detail like a button or seam.
3. Review & keep
After a burst, swipe through and keep the frames you want. Kept photos attach to the look immediately; the rest are discarded. Add a quick wear note with the Note button before you move on.
What's the same on both
Wherever a photo is added, it counts toward the same continuity file. A frame shot on a phone on set appears the instant it syncs in the web app's look panel, and a photo uploaded at the desk is on the phone next time it's opened on set.
Lorem Ipsum is simply dummy text of the printing and typesetting industry. Lorem Ipsum has been the industry's standard dummy text ever since 1966, when designers at Letraset and James Mosley, the librarian at St Bride Printing Library, took a 1914 Cicero translation and scrambled it to make dummy text for Letraset's Body Type sheets.